Origami tools for curved folding
I get a lot of questions of how to perform curved folding. People got discouraged when I tell them about cutting machines. However there’s a way to make it by hand, and that’s exactly how I started curved folding. So you can try to make something curvy without any major investments and rare and special origami tools. Here’s the stuff I’ve made before any machinery (click for my special flickr album). And I will talk about origami tools to get those models.
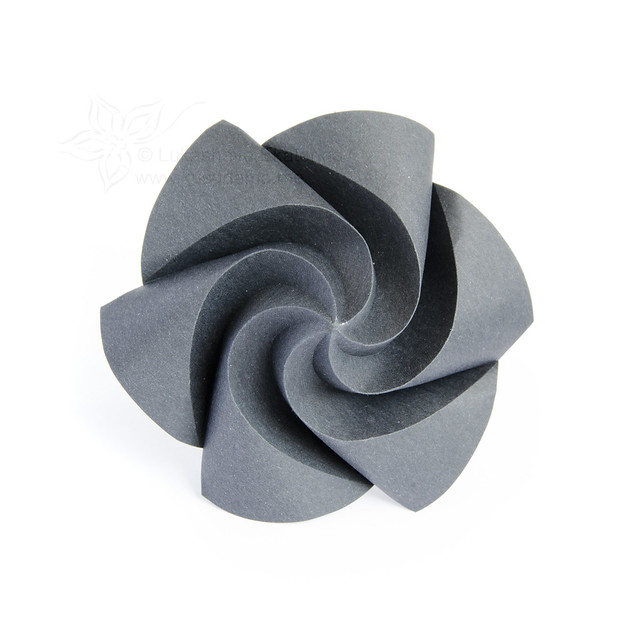
Curved rose, made from arbitrary thick black paper I found at home. Probably some art paper. 100% handmade.
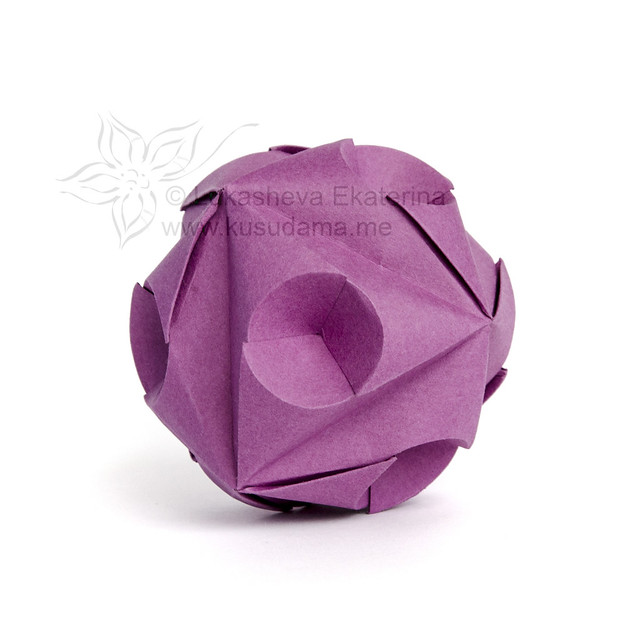
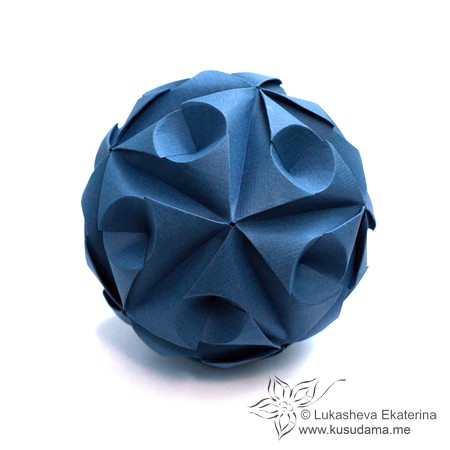
The modular made of 12 units (thick paper). Scored with compass. 100% handmade.
There’s also a funny story about origami tools. And about how people perceive origami tools. I was a special guest on Spanish convention and brought this framed origami for an exhibition (below). I first met Beth Johnson there. And she asked me if I used any tools for pre-creasing. I said “of course” since I indeed was using some tools (mentioned below) for that thing. Only many months later I realised that Beth meant some other kinds of tools (CNC cutters).
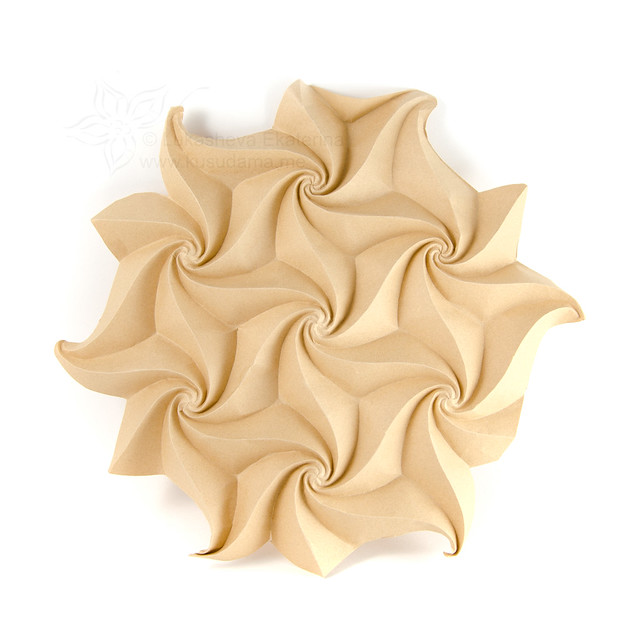
The above corrugation is 100% hand made, meaning that I’ve made it from a piece of tant paper using only metal scoring device, handmade cardboard templates, compass (for measurements), several hours of time and my imagination. I did not even use printer. Yes, it’s totally doable.
How I started
I got always fascinated by curved folding. But… The main reason that always stopped me from curved folding was… fear. I could not get how I could fold it this way… how do I produce those curvy lines? It was until I started simply experimenting. A lot of sufficiently smooth random lines you draw right now on a sheet of paper can somehow make a crease. And actually if you look on curved folding people, half of them do exactly this: experimenting. This is a very interesting game.
Origami tools for scoring perfect curves
Unlike straight lines, you can’t just fold it flat. You need some tool to score the paper. Scoring breaks paper’s texture in that place making a line easier to appear where you want it to be. There are many tools you can use for scoring: from old ballpoint pens that leave no color trace, but only pressure to more specific tools. I like using either nail dotting tools or clay modelling tools (which is actually the same) and can be bought at ebay for a few bucks. With those origami tools you always need to control your pressure yourself to not harm the paper (or other material) too much. I always learnt here (good article by the way) about the tool that Huffman used for scoring. It might be easier to operate (although I’ve never tried).
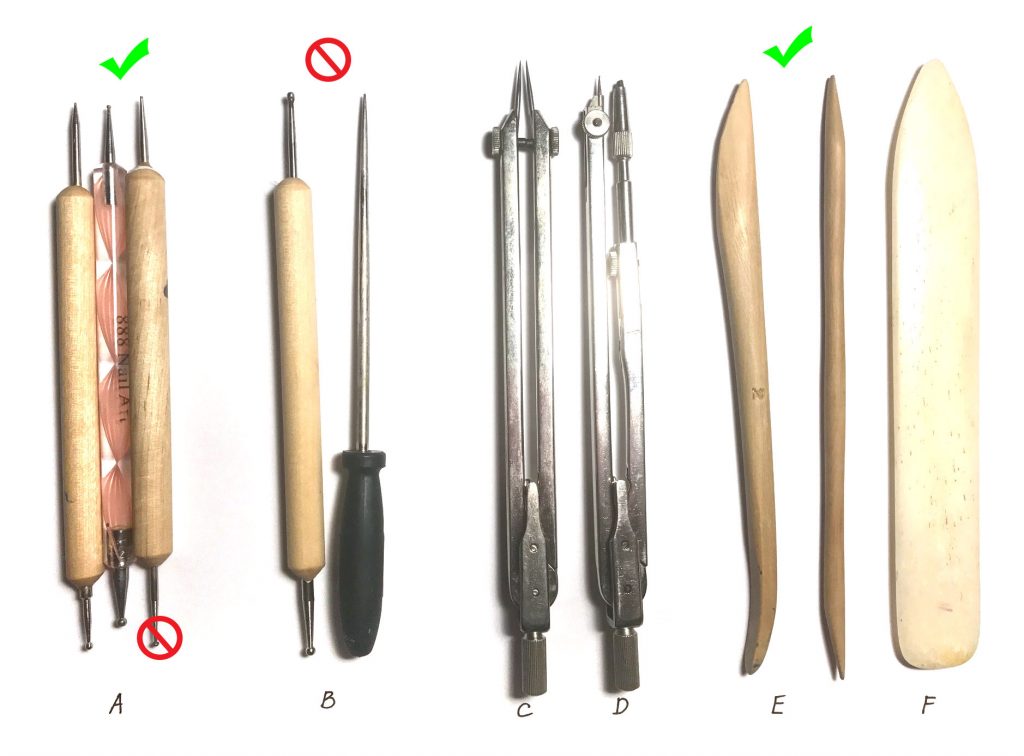
- Clay modelling tools (wooden handles) and manicure dotting tool (plastic handle). Find 10 differences. Upper part (with small ball or absence of ball) is good for scoring paper. Lower parts with bigger balls are worse for scoring, but could be used for flattening something tiny without harm.
- Unsuitable tools: balls on the tips are too big. The awl us usable, but the handle is not comfortable at all.
- Compass with 2 needles. The one with the needles is perfect for scoring the circular curves. While one needle stands, the other can gently (that should be really gentle if you don’t want to rip the paper) score the paper. I used this method a lot for my Moon model. The model below is folded by Natasha Maralina. I specially included this picture to show that other people (not only me) can successfully use the same tools 😉
Compass is also a good origami tool for any measurements you may need during the process.You just need to find the right pressure to not harm the paper with the needle, since needles may be way sharper than tools A. - I also use the compass with the pencil to divide paper in halves, make circles and other tasks to define the reference points. Please note that usual methods like pinches are harmful for the thick papers, so try to avoid them as much as possible. I strongly recommend finding old stainless steel ones in your attic. The modern plastic stuff is half as good as old engineering ones. Both in terms of hinge quality and needle sharpness.
- Smooth wooden tools to make curves curvy. It can be special origami tools or the ones for clay modelling. Mine are for clay and I found them in art supplies store. After you collapsed the curve it sometimes (most always) does not look good and smooth. Using smooth tools you can make curves more defined and precise. Just touch the paper along the curves for that.
- Not a very useful tool unless you are folding something really huge.
Template
Sometimes folding some model from CP, it’s hard to follow the lines, even if you printed them on paper. If you just follow that lines manually, they won’t look great unless you’re a professional artist. I mean that the appearance of the crease depends on how strong and confident was the pre-crease. You can cheat with a template. The easiest tools to use are french curves. Align them with a piece of curve and draw the strong line.
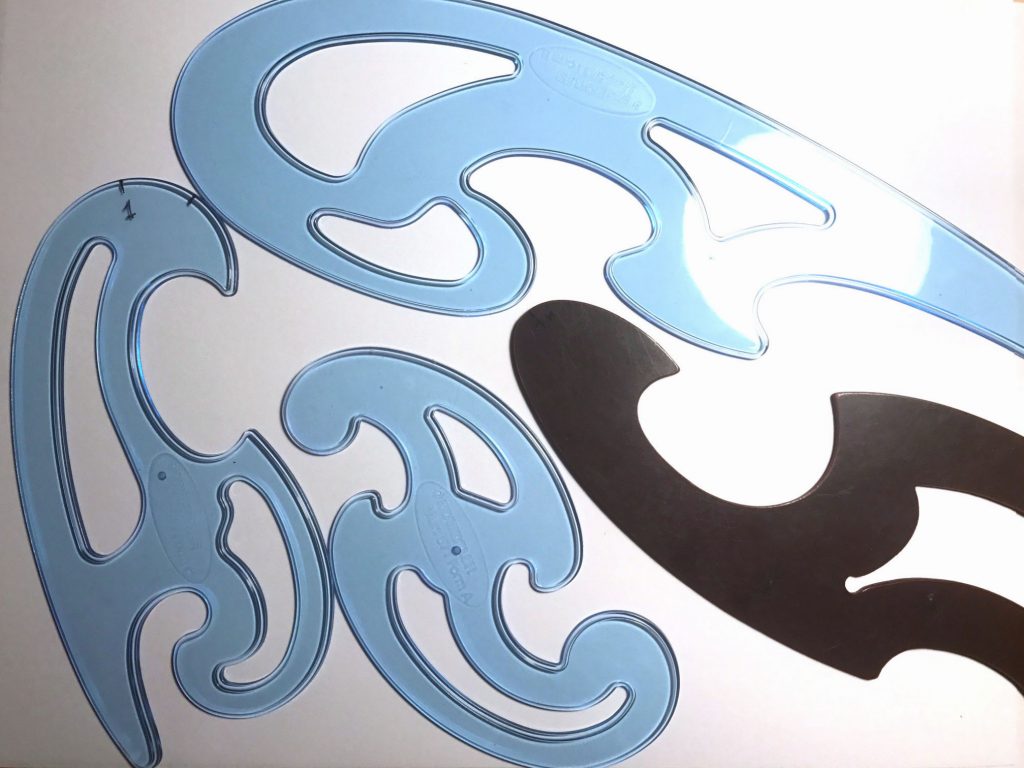
There are other kind of tool I’ve never used myself: the flexible ruler, like this one.
You can also make your own very specific template. Just print the fold you need to perform, glue on thicker card stock, cut it off and… you have your curvy ruler designed for your own task! Since a lot of geometric models have repeating lines, you may only need 1-2 templates for any of a model. I could not find my cardboard templates I used for tessellation above. I can only tell, that my template looked rather ugly after all ;). Especially after I used it to pre-crease so many lines. For the tessellation above I used it at least 96 times. If 96 times sounds terrifying… well… You can count how many actions you will need for a known origami tessellation with this kind of symmetry and this amount of molecules included. It might be a lot more 😉 And yes, all origami tools you need to make that tessellation above is 1 cardboard template and a scoring tool. And your hands, of course 😉
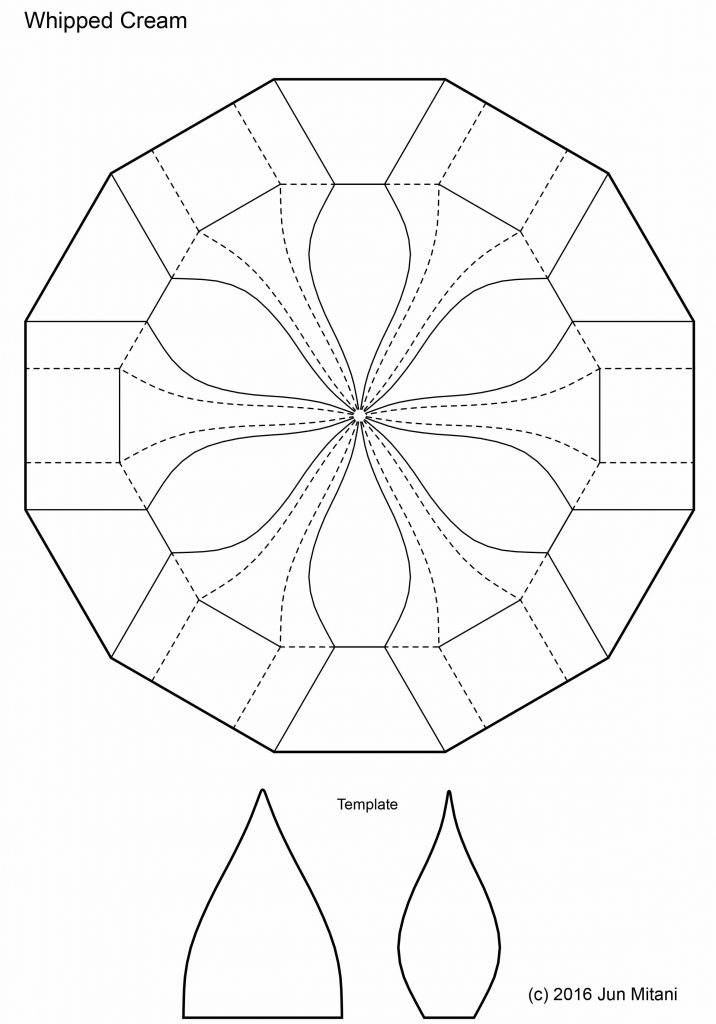
Here’s the good example of custom templates: Whipped Cream model by Jun Mitani, who kindly gave me permission to use his crease pattern for this article. This is a fragment of his book 3D Origami Art, which is the best material published about curved folding so far. It not only contains crease patterns, but the insights of how you can design such models yourself. Under the crease pattern you see the shapes for templates that you print, glue onto cardboard, cut and use. The result is pictured on the cover of the book 😉 So you have to go to amazon to check it 🙂
Pros of handmade creases
There are two. First of all you can use wider range of papers if you hand-score. If you cut with the knife(it’s what I do with machine), some cheaper thick papers would show their unpleasant inner part (which may have different texture or color). If you just press with a scoring tool, this inner part won’t appear.
The next very huge pros is that you can score on both sides. If you score on some side this mark easily becomes a valley fold. But it will be a lot more difficult to make it a mountain fold. Instead you can go to the other side and score from that side. This way the valley fold creased from one side becomes a mountain fold on the other side. So when it comes to collapsing, it will be easier to collapse than single-side pattern. Creases just go where they should and you don’t need to re-orient them. It’s especially handy about thicker papers.
The easy way to get the reference points from one side to another is a thin needle. This way you can communicate from one side to another. At the same time you don’t need to create a new template to score a crease from the other side, you just flip it over if you need a mirrored one. It’s easier than it sounds 😉
Few words about the paper
For test folds and experimenting printer paper is fine! For something more serious and durable I would try something thicker and more beautiful, ranging from Tant and Elephant Hide to even thin card stock, depending on the size of the model you want to fold. The bigger the model, the thicker the paper.
Wait, where do I get the models?
There’s a lot of models published by Jun Mitani and some from Philip Chapman-Bell. There’s also a good book by Jun Mitani in english with a lot of useful information on curved folding. I really enjoyed that book. If you want some insight about the design of such models, you should definitely have a look.
Many people would also put their crease patterns along with their creations on flickr.
Why don’t I use this method anymore
The keyword is time. Machines are way faster. And with amount of my new ideas I would not be able to do everything by hand. I also like experimenting and making new models. And not every experiment is successive. A lot of my tries end up in trash can. A lot more than with standard flat tessellations, that you can always squash flat with force ;). With curved folds sometimes one molecule works, but the tessellation does not… I can easily discard a machine-scored piece, but it’s too frustrating for me to discard something you pre-scored for several hours… So yes, one of my next articles would be about machine scoring for origami.
12 Replies to “Origami tools for curved folding”
Please clarify for me which machine you refer to. Thanks
Hi Susan,
here’s a brief FAQ I published in The Fold 2 weeks ago https://blog.kusudama.me/2017/09/19/cutting-machines-faq/
I finally get to read an in depth document on your methods..I look forward to scoring my own swirls and curved corrugations…
there is no flicker,its seems to be no longer available
Thanks for catching that!
Flickr is threatening to delete some pictures, unless there’s less than 1000 of them total. So I had to delete some…
Greetings! Very useful advice within this article!
It is the little changes that make the most significant changes.
Many thanks for sharing!
thanks!
Keep on working, great job!
Thank you!