How I paint origami paper
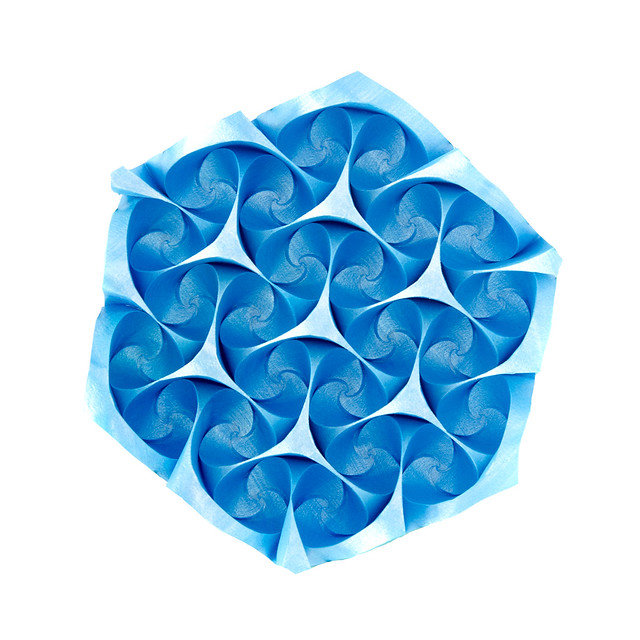
People always wonder, where I get that beautiful origami paper. The answer is … I paint it myself. And since I tried so many times before I got good results, I decided to share my technique with you. Below are several examples of what I folded with this type of origami paper. The result paper is equally good for origami tessellations and modulars, that do not have too many layers in one place.


There are two main problems with painting paper on your own.
- Staining of the back (and may happen if you spray-paint paper). It won’t be an issue with the following technique.
- Warping is a huge problem. If it is not a watercolour paper it is going to warp. And we want more or less flat sheet in the end. For many years the latter problem would stop me from painting paper…
- With some paints (water soluble and sprays) you will get the paper give you the color back, while you are folding. For the last reason I choose acrylic paints. Once they are dry they don’t paint surrounding objects. And they also give a nice ‘plastic’ layer to the paper, that actually makes it more durable.
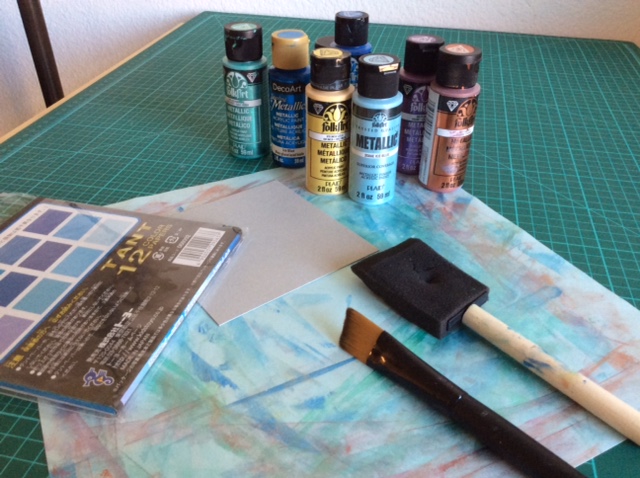
Here’s what I use:
- I use acrylic metallic paints, the cheapest ones. You can buy them at Walmart (in art and craft section) or at Michaels. Other shops may also carry them. Among all I prefer ‘folk art’ since they have the most pigment. Each bottle costs like $1.5 to 2.5.
- The large sheet to protect the surface.
- The sponge. I bought mine for $1, you may also use clean kitchen sponge, I suppose.
- The brush (optional). You can also paint with brush, it will give you thicker layer of paint, than with sponge.
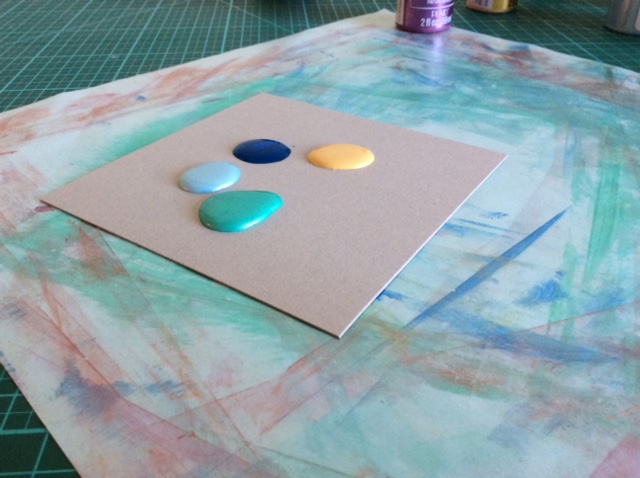
- The palette to mix the colors (piece of thick cardboard works well).
- The origami paper to paint. I prefer tant. I am sure you can use printer paper. And I would even recommend to practice on cheaper paper. If you are looking for bigger sheets of tant (250mm) the good place is here.
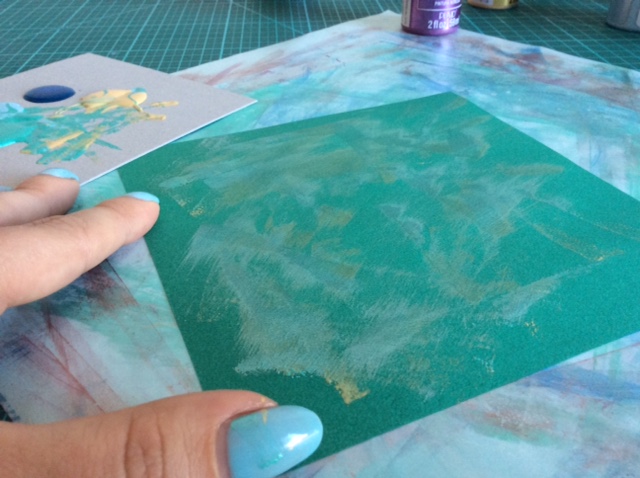
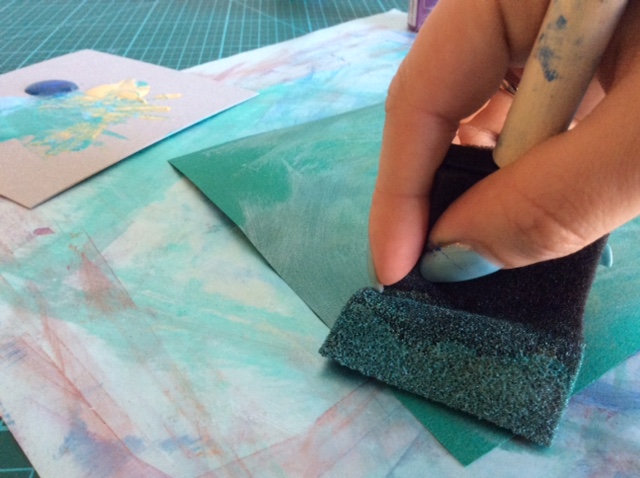
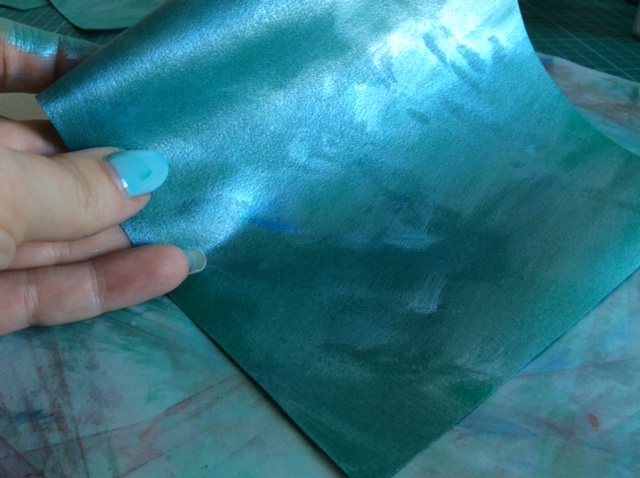
Here’s how to paint the paper:


Do you still have any questions? Ask them here 😉 And I would also like to see what you’ve got when using this technique.
6 Replies to “How I paint origami paper”
Cool technique! Reminds me a little of the Metropol hotel where all the pillars are faux marble. They painted the columns to look like marble because that was more impressive than actual marble…and more expensive than real marble.
I never knew faux marble was more expensive. I always thought it was cheaper…
Thank you for sharing the technique!
yes very cool. I’m gping to try this with collage and see how it goes. thanks